"What is an EQ?" you ask.
Well, an EQ lets you boost or cut a specific frequency ranges in your tracks.
"Why would you want to do that?" you ask.
Well, because generally you want certain things to stand out more in your mix, and other things to be more in the background. Cutting/boosting certain frequencies can help you do this. Also, you can make things sound cleaner and clearer. It's sort of like having a toolkit for working on the details of your tracks.
Today we're just going to work with a very basic and extreme form of EQ-ing, called filtering.
First let's listen to an example of filtering on a vocal in a song:
In the first verse of the song, could you hear how the vocal sounded kind of weird, almost like it was coming through a telephone? Since we all use phones a lot, we tend to associate this sort of sound with talking on the phone. This effect was probably achieved through the use of filters; in the mix, they filtered out the high and low parts of the singer's voice. When you talk into a phone, the phone is not able to reproduce the high and low frequencies of your voice, so what the listener on the other end hears is essentially a filtered version of your voice.
Filtering simply lets you completely cut out a certain frequency range (highs, lows, etc.) and leave the remaining parts. This can be really useful when you are mixing and want to make sure that certain sounds that have similar frequency ranges don't clash with each other. It can also be used to create specific effects, as we just heard. Today, I want you to get some experience with filtering a vocal. We're going to use the filters on an EQ plugin to cut off the high and low frequencies to and imitate the "telephone effect".
Please do the following:
Please do the following:
- Open a Pro Tools session that has vocals on it (e.g Color Scheme, Rob's Life, Friday Night, etc).
- Pick a vocal track that you want to work with. Solo it by clicking the yellow S button.
- Pick a specific region and loop it. Hit play.
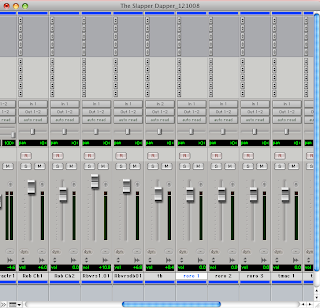
- Go to the Mix Window.

- In the Inserts section at the top of the track, click on one of the sets of double arrows. Click on Plugin>EQ>7-band EQ3
 You should see this window pop up:
- Find the sections called HPF and LPF,
 click the IN buttons to turn them on.
- Now find the spots where it says 6dB/Octave. Turn up the knobs until it says 12dB/Octave.

- In the HPF section, turn up the FREQ knob until your voice starts to sound kind of thin. Make a note of what frequency this happens at (about 1kHz).
- Now in the LPF section, turn down the FREQ knob until the voice starts to muffle a little and sound more like it's coming through a phone. Note what frequency this happens at (about 2kHz). The frequency screen should look something like this:

- Try Inserting EQs on different tracks and play around with all the different knobs in other parts of the EQ and see how they affect the sound of your tracks.

No comments:
Post a Comment